- Click the “Define and select print sections” button, and then “New section”.
- Edit the name, color, scale function and addiotional informations and click “OK”.
Detailed guide
In the “Drawing” tab, click on the button “Define and select print sections”. (red circle)
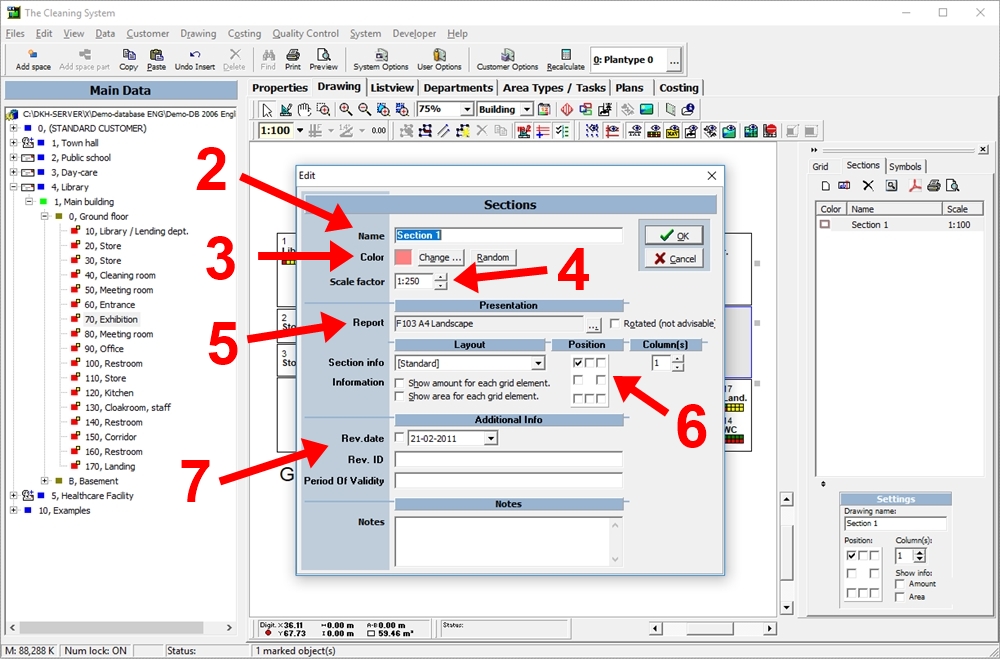
Click on the “New section” button. (1)

In the “Sections” window, you can change the “Name” (2), “Colour” (3) and “Scale factor” (4) of the section.
You can change the layout in the “Presentation” area (5) and choose the “Position” of the section information (6)
You can also add more information under “Additional Info”. (7)
When you are finish editing the section, click the “OK” button. (8)
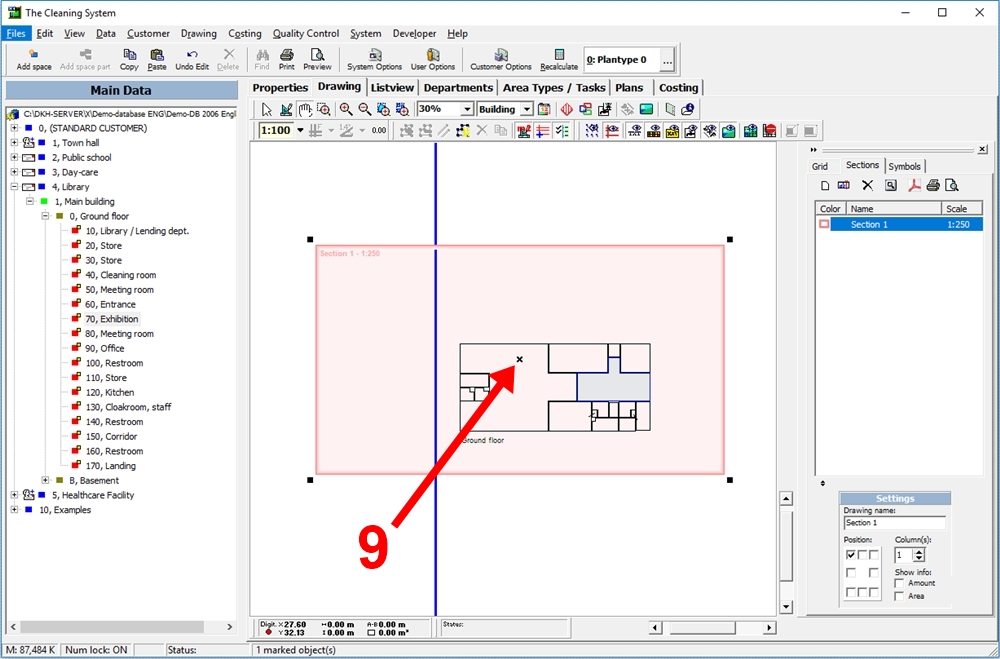
You have now added a print section to your drawing. If you want to print the section to a PDF file, click here.
You can move the section around with the mouse, by dragging the cross in the middle of the section. (9)
For more information,
watch the video about print in the online tutorials → here