- Mark/select building.
- Add floor (named Index/Number “0”).
- Mark/Select temporary floor.
- Add Space (named Index/Number “0”).
Detailed guide
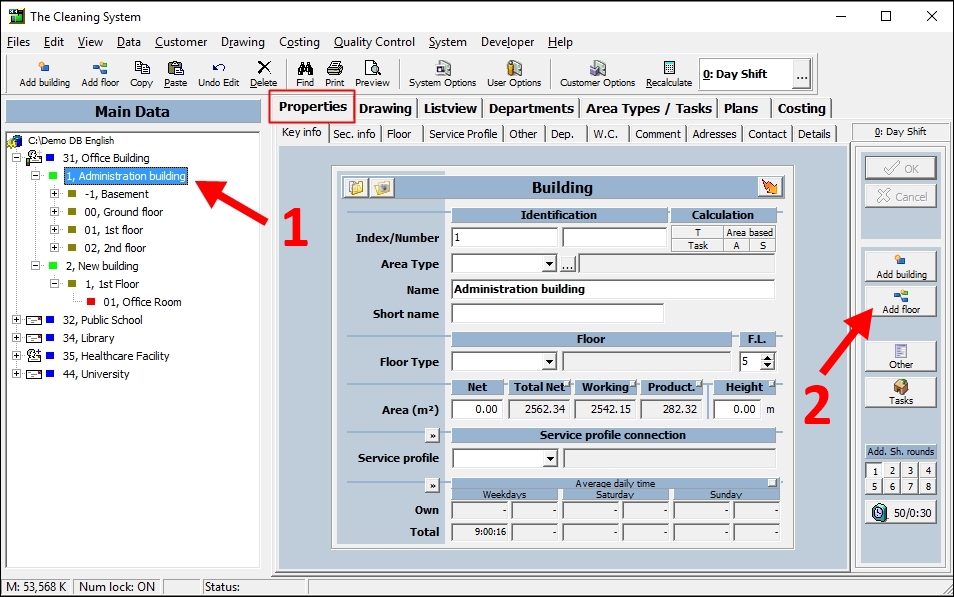
In the Properties tab (red square), select/mark the building under the relevant customer in the Main Data tree on the left side. (1)
Add a new temporary floor by clicking the button “Add floor” on the right side of the screen. (2)
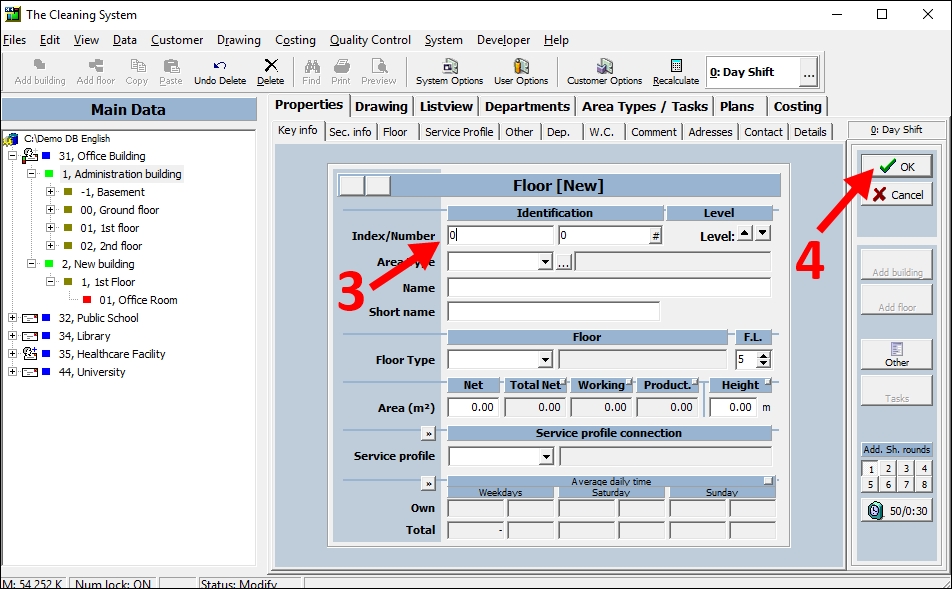
Fill out the field “Index” on the sheet (3). You can call this temporary floor “0” (if not already used as Index for another floor).
Press “OK” on the right side of the screen. (4)
Press Escape on your keyboard or the “Cancel” button on the right side of the screen to exit the “Add floor” mode.
Select/mark the temporary floor named “0” (5) by clicking on it in the Main Data.
Click the button “Add space” (6) on the right side of the screen to add a temporary space.
Use “0” as ID for this new space. Press “OK” on the right side of the screen.

Press Escape on your keyboard or click the “Cancel” button to exit the “Add space” mode.
For the whole guide on how to import a DXF file and copy room polygons → Click here